 Tyne Seedling
You will discover how to read true-leaf development and separate crowded sprouts without bruising main stems. Handling plants strictly by their cotyledons allows you to bury leggy growth and build thick root balls.
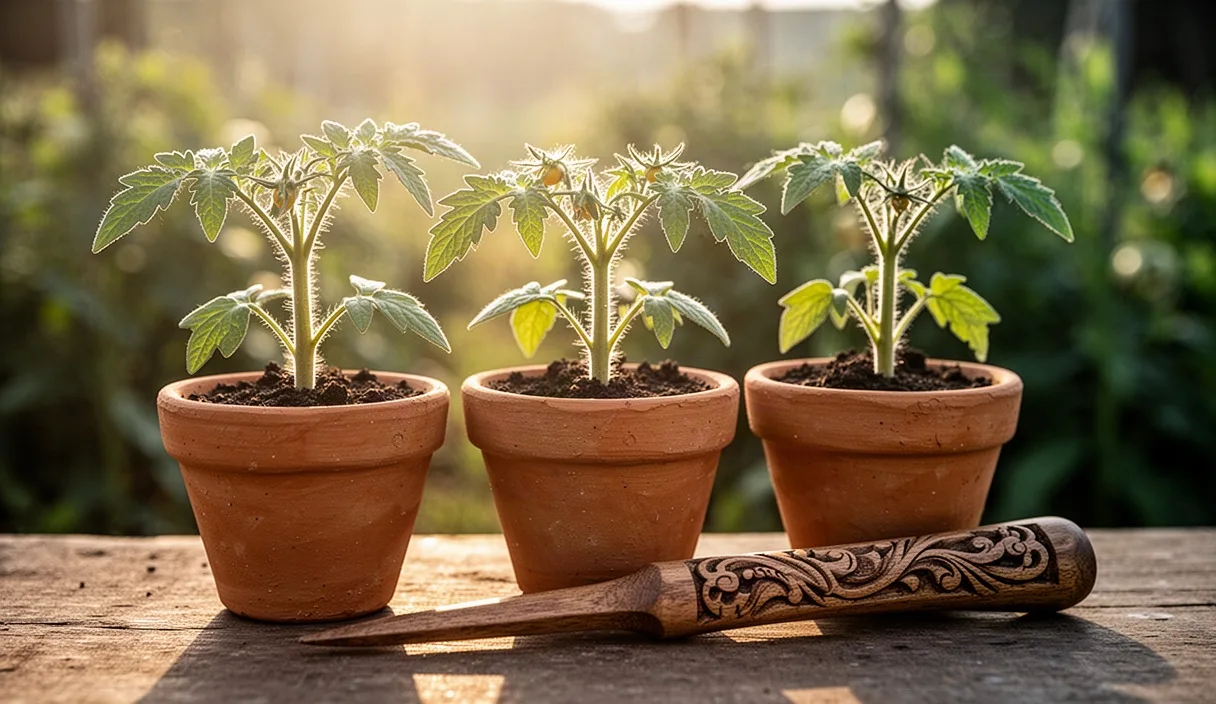
- Wait until the first pair of jagged true leaves emerges before disturbing the shared seedbed.
- Hold each seedling solely by a seed leaf rather than the fragile, easily crushed main stem.
- Bury the stem down to the lowest leaf node to induce adventitious root growth along the buried stalk.
There is a distinct morning in late winter when the greenhouse bench shifts from quiet anticipation to urgent activity. The tomato seeds sown in community wooden flats three weeks ago have pushed past their initial germination stage, stretching their necks toward the cool glass. In the moist expanse of sieved coir and perlite, hundreds of emerald green points now crowd shoulder to shoulder. Their roots, fine as silk thread, begin to touch and tangle underneath the surface. Leaving them together for even a few days too long encourages thin, leggy growth as they compete for weak seasonal sun and the scarce nutrients held in lean seed-starting media.
Pricking out is our deliberate act of separation, moving each tender plant into its own territory where it can establish a resilient root structure. It is delicate benchwork that asks us to slow down, calibrate the pressure of our fingers, and respect the anatomy of young Solanaceae. When we lift these plants, we are not merely shifting dirt. We are inspecting root architecture, appraising foliage development, and setting up the cellular scaffolding that will later carry heavy clusters of fruit through high summer. By handling the material with measured attention, we minimize mechanical trauma and guide these seedlings toward strong, self-reliant maturity.
True Leaves Versus Cotyledons: Reading Growth Clues
Before we lift a single tool, we must assess whether the seedlings have developed sufficient vascular vigor to survive disturbance. The first two green wings that emerge from the seed coat are cotyledons, or embryonic nurse leaves. Smooth-edged, oval, and relatively plain, their primary role is to convert stored endosperm into energy and initiate early photosynthesis. They are not true leaves, and pricking out while a plant possesses only cotyledons often leads to collapse, because the vascular bundle within the hypocotyl is still soft, watery, and poorly defended against fungal infection.
We wait until the plant displays its first set of true leaves, and preferably the initial bud of the second set. Tomato true leaves are serrated, bearing the distinct, deeply lobed silhouette of the plant family, along with a fine coating of glandular hairs that release a faint, resinous aroma when brushed. These hairs and the increased vein density tell us that the vascular cambium has matured sufficiently to pump sap under pressure, seal microscopic tears, and stimulate rapid cell division in broken root tips.
| Feature | Cotyledon Stage | First True Leaf Stage |
|---|---|---|
| Foliage Margin | Smooth, rounded, non-serrated | Lobed, serrated, characteristic tomato shape |
| Stem Texture | Glassy, succulent, highly prone to bruising | Fibrous, developing visible trichomes (hairs) |
| Root Structure | Single taproot with sparse lateral hairs | Branching lateral roots with anchored network |
| Transplant Resilience | Low: high risk of damping off and desiccation | High: capable of rapid adventitious root production |
Observing stem color also informs our timing. A pale green stem that bends under its own weight suggests a seedling that needs stronger light rather than immediate potting up. Conversely, a stocky stem displaying a faint purple tint toward the base demonstrates steady anthocyanin accumulation, a sign that the seedling is photosynthesizing efficiently in cool air and is primed to expand into rich soil.
Preparing Individual Containers with Fresh Compost
Seedlings need room to colonize, but an oversized pot can lead to stagnant water around their roots. We select clean 7.5 cm or 9 cm square pots, preferably molded from durable, rigid plastic or pressed wood pulp that can be reused for years. Square profiles maximize shelf real estate under grow lamps or across bench heating cables, eliminating the cold air gaps typical of round pots and keeping root balls insulated against fluctuating greenhouse temperatures.
The potting medium must strike a balance between drainage, aeration, and nutritional sustenance. While germination mix is intentionally lean and fine to avoid burning tender root tips, potting compost requires body. We blend thoroughly:
- Two parts well-aged, screened leaf mold or composted pine bark for water retention and beneficial microbial life.
- Two parts coarse horticultural perlite or washed grit to secure uninterrupted drainage and prevent compaction.
- One part mature, sieved worm castings to deliver a slow, low-burn charge of organic nitrogen and trace minerals.
We charge each pot with this mixture, tapping the bottom sharply against the timber bench to eliminate subterranean air pockets without compressing the structure. We avoid pressing the compost down with our thumbs, which destroys pore space and makes it difficult for fine roots to travel. Using our finger or the broad end of a dibber, we open a deep, vertical core in the center of the compost, running right down to the bottom third of the container, ready to receive the root mass without bending or crowding it.
Lifting Roots with a Wooden Potting Dibber
Moving a seedling from a communal flat requires patience and the right implement. Metal spoons can cut roots unexpectedly, and bare fingers apply uneven pinch pressure. We rely on a carved hardwood potting dibber, whittled from scrap ash or cherry, with one tapered, flattened paddle end and one rounded tip. The wood absorbs a little moisture from the soil, creating enough surface drag to cradle the root ball gently rather than slicing through it.
Twenty minutes before lifting, we water the flat with room-temperature water. Dry soil clings stubbornly to fine root hairs, ripping them away during extraction, while waterlogged soil is heavy and tears the root mass through shear weight. Moist, crumbly compost releases easily. We slide the paddle end of the dibber beneath the chosen seedling at a forty-five degree angle, reaching under the root zone rather than prying at the surface.
- Gently hold the tip of one cotyledon between index finger and thumb. Never grip the stem; crushing the stem collapses the plant's vascular bundles, causing permanent damage or death, whereas a torn leaf will simply regrow.
- Lever the dibber upward from below, lifting the compost mass while supporting the weight of the seedling by its leaf.
- Tease the intertwined roots apart with slow, vibrating motions of the wooden tool, allowing individual root strands to fall free without snapping.
- Inspect the lifted root system, setting aside any seedlings that show black, stringy root rot or stunted taproots in favor of those with bright white, fibrous structures.
Planting Deep: How Buried Stems Form New Roots
Unlike most garden vegetables, which rot if their crowns are set below the soil line, tomatoes possess a remarkable evolutionary trait: the capacity to form adventitious roots along their entire hypocotyl. The tiny, fuzz-like trichomes covering the lower stem are capable of transforming into functional roots when placed in continuous contact with moist, dark growing media. We use this biological adaptation to correct any early-season leggy growth.
Lower the seedling into the prepared core of the new pot until the first set of cotyledons rests just above the surface of the compost, roughly 5 mm clear of the soil. If the stem is exceptionally tall, we allow the base to curve gently along the lower soil bed in an L-shape, ensuring the growing tip remains pointed upright toward the sky. This buried stem length will transform over the coming fourteen days into an extensive secondary root zone, providing enhanced anchorage and nutrient-gathering capacity.
Once the seedling is positioned, draw the surrounding compost inward with the dibber, settling it around the buried stem with light, sympathetic pressure. We gently rap the pot base on the workbench one more time to settle the particles around the stem. The stem must sit firmly in the center, upright and well supported, with no exposed roots and no loose voids underneath the soil line where roots might dry out.
Settling Transplant Shock Under Indirect Lighting
Even the most careful handling damages microscopic root hairs, temporarily disrupting the seedling's ability to take up water. If exposed immediately to full sun or intense grow lamps, the plant loses water through transpiration faster than its diminished roots can draw it in, causing the foliage to flag, wilt, and scorch. We must protect the seedlings during this vulnerable transition period while the root ends heal and reconnect with the compost.
Immediately after potting up, water each pot using a brass watering can fitted with a fine, upturned rose. The fine spray settles the compost smoothly against the root system without dislodging the plant or causing surface erosion. The water must be tepid, between 18 and 21 degrees Celsius; cold well water or municipal supply straight from outdoor pipes can shock root cells, causing growth to stall for up to a week.
Move the potted seedlings to a shaded bench or cover them with light fleece to diffuse harsh rays for forty-eight hours. Maintain an ambient room temperature of 19 to 21 degrees Celsius during the day, dropping no lower than 15 degrees at night. This moderate warmth stimulates cell growth and root initiation without forcing the leaves into heavy transpiration. Once the seedlings stand firm and the leaves hold their posture through midday, gradually reintroduce them to full, direct light over the course of two days.
Monitoring Early Vegetative Vigor After Repotting
During the first week in their individual pots, seedlings work primarily below ground. You may notice little or no top growth for the first five to seven days; this is normal as the plant directs its resources toward colonizing the fresh compost. We read the subtle language of the foliage to track their progress and adjust environmental conditions accordingly.
A seedling that has rooted successfully displays a firm, matte-green sheen across its foliage, and the central growing tip begins unfurling new leaves with crisp margins. Leaf edges that curl downward tightly indicate that the compost is holding too much water or that temperatures are too low, while pale, yellowing cotyledons that drop off prematurely after seven days simply show that the plant has metabolized their stored reserves and is now feeding through its true roots.
Watering during this stage must follow a deliberate cycle of moistening and drying. We lift the pots daily to judge their weight by hand. A light pot calls for thorough, slow soaking until water drains freely from the base holes; a heavy, dark pot is left untouched. Allowing the top centimeter of compost to turn pale and dry between waterings forces the young roots to stretch downward in search of moisture, preventing lazily shallow root systems and reducing the risk of sciarid fly infestations around the soil surface.
Common Mistakes
- Stem handling: Pinching the hypocotyl with fingers or metal forceps during lifting, which crushes the vascular cambium and prevents the transport of water and carbohydrates.
- Premature feeding: Applying concentrated liquid fertilizers to freshly potted seedlings, which burns fragile, support root tips. Fresh potting compost contains ample nutrition for the first three weeks of vegetative growth.
- Overly shallow potting: Setting the seedling at its original germination depth rather than burying the stem up to the cotyledons, leaving the plant top-heavy and sacrificing the opportunity to build adventitious roots.
- Compacting wet compost: Firming the soil mix down aggressively with thumbs, creating a dense, airless environment that stalls lateral root expansion and encourages root-rot pathogens.
- Immediate light exposure: Placing freshly disturbed plants straight under hot grow lamps or into full south-facing glasshouse sun before root-water equilibrium has been restored.
Practical Next Steps
With your seedlings settled in their individual pots, turn your attention to maintaining a balanced greenhouse or indoor environment over the next few weeks. Keep a minimum spacing of 5 cm between pots on the bench; as the leaves expand, they should barely brush against each other. When tomato foliage overlaps heavily, it creates a stagnant microclimate that invites botrytis and causes stems to stretch upward in search of light, undoing the stocky growth you have nurtured.
Prepare for the next potting phase by washing and sterilizing larger containers, typically 1 to 2 liters in volume, or garden beds if your local last-frost date is approaching. If you plan to grow in unheated glasshouses or outdoor plots, monitor nighttime soil temperatures closely, as tomatoes should not go into open ground until the soil registers at least 12 degrees Celsius at a depth of 10 cm. For now, observe your seedlings each morning, lift the pots to feel their moisture levels, and let the quiet, steady rhythm of early vegetative growth run its course.
Our field notes serve general horticultural education; consult your local agricultural extension service for regional biosecurity rules and persistent plant pathology. Disclaimer

Complementary Reading
-
 Seedcraft & Propagation 9 min read
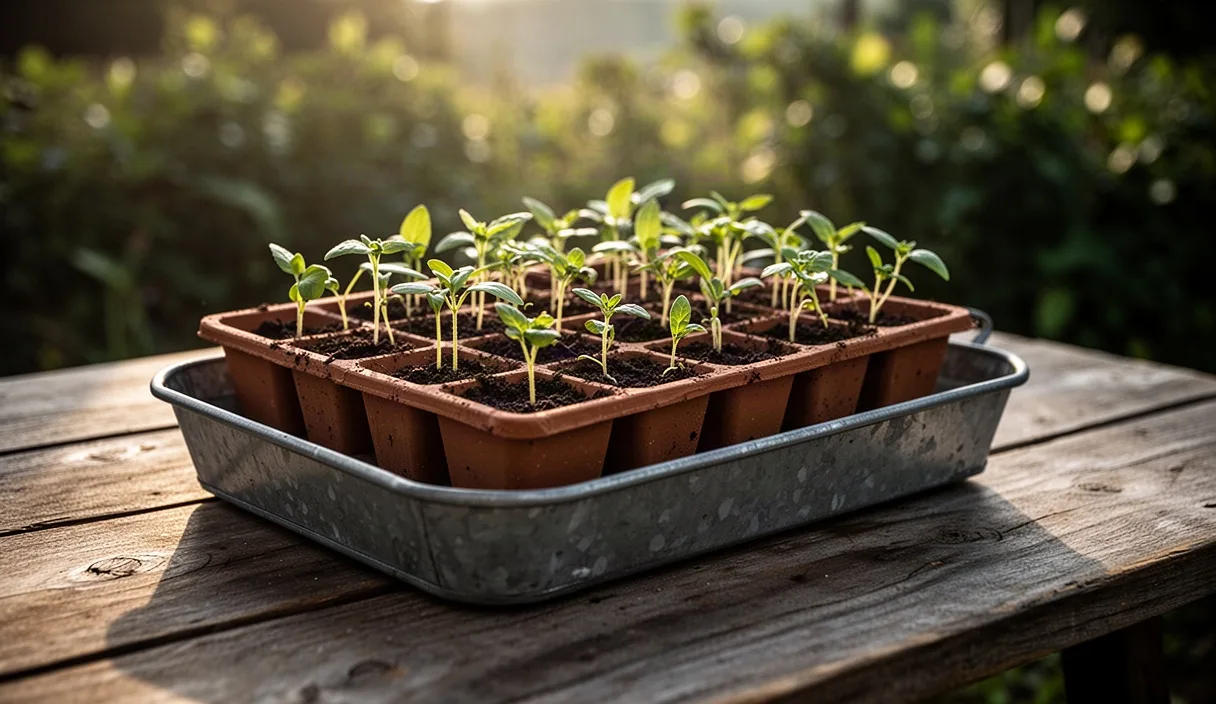
Bottom-Watering Seed Trays Without Damping-Off Risk
You will learn how to supply water through capillary pull from underneath without flooding fragile stem collars. This approach keeps topsoil dry, discards excess stagnant moisture, and forces roots to grow deep.
-
 Seedcraft & Propagation 10 min read
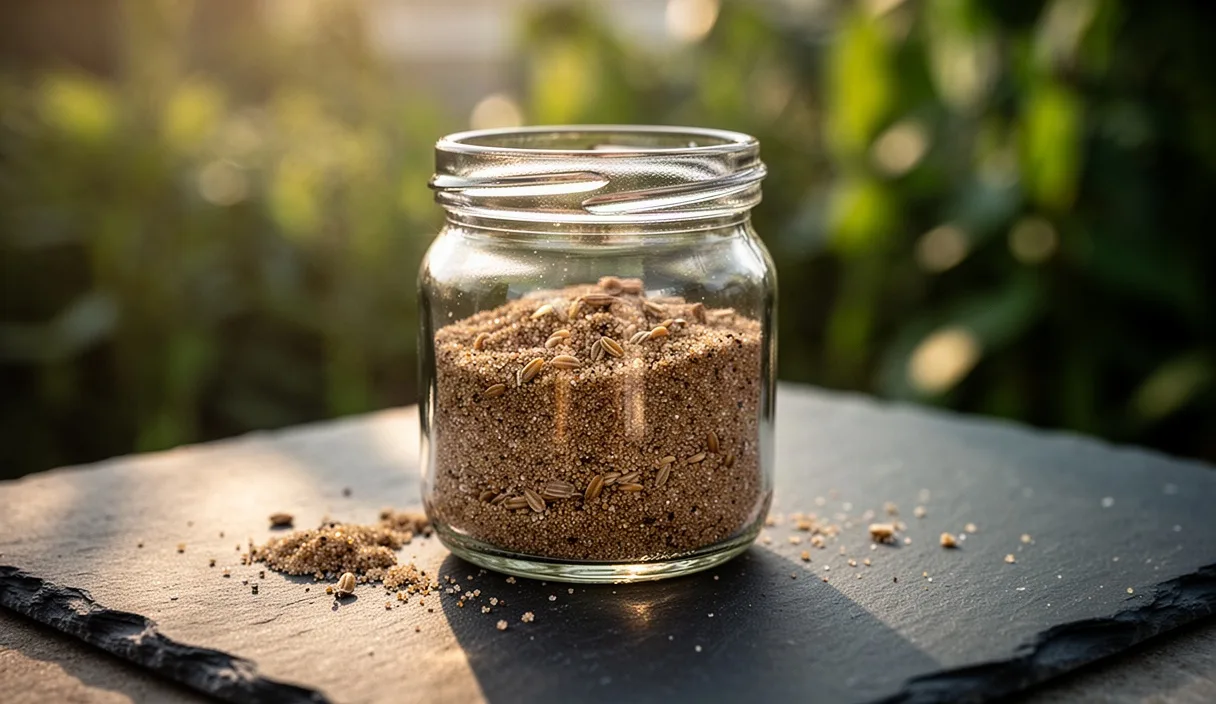
Cold Stratification Checklist for Perennial Berry Seeds
You will discover how to recreate winter soil conditions inside your kitchen refrigerator using coarse sand. Breaking seed dormancy deliberately ensures high, uniform germination across wild alpine strawberries and brambles.