 Tyne Seedling
You will learn how to sift, blend, and moisten your own porous seedling medium using simple base ingredients. With the right balance of peat moss substitute, vermiculite, and leaf mold, young roots breathe easily and anchor firmly.
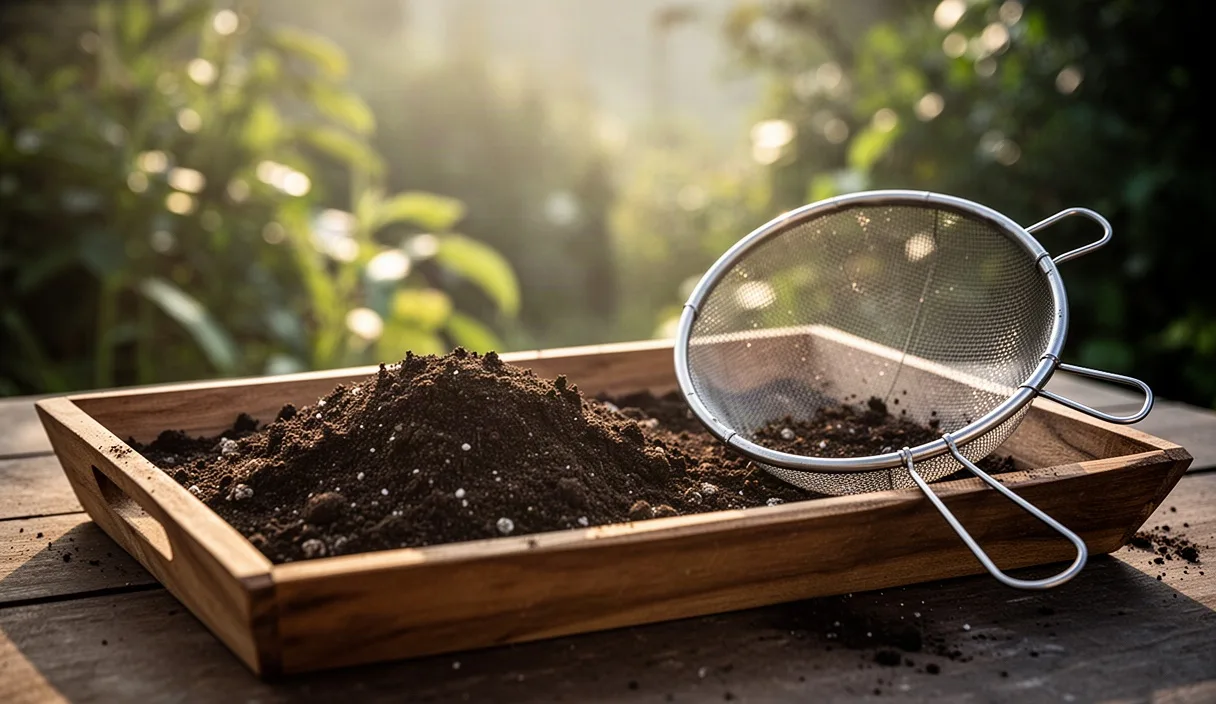
- Sift all base materials through a six-millimeter mesh screen to remove wood chunks that block tiny root caps.
- Maintain a blend of two parts moisture retainer to one part mineral drainage material for steady air exchange.
- Moisten the blend with warm water hours before sowing so moisture reaches the inner core of each particle.
At our nursery benches in late winter, the silence is broken only by the scrape of a flat shovel against seasoned timber and the soft, dry hiss of materials passing through wire mesh. Preparing our own seedling mix is less about following a rigid recipe and more about understanding how fragile, nascent root systems navigate the micro-spaces between soil particles. A seedling carries its own initial energy within its seed coat, requiring from us only steady moisture, ambient oxygen, and a crumbly, unresistant physical structure that allows a soft radicle to search downward without bending back on itself.
When we assemble a blend by hand, we feel the exact spring and slip of the components between our fingers. Standard commercial mixes, formulated for transit longevity and broad container applications, rarely serve the delicate physics of shallow germination flats. By balancing well-rotted leaf mold, washed coconut coir pith, and coarse volcanic mineral, we craft a porous, living matrix that holds air and moisture in balance, giving tender roots the steady footing they need to thrive before their first true leaves unfurl.
Why Commercial Potting Soil Compacts in Trays
Most commercial potting soils are engineered for five-gallon nursery pots or outdoor garden containers rather than the tight, two-inch confines of seedling plug trays. In deep containers, gravity helps drain excess water away from the upper root zone, leaving open air pores. In a shallow seed cell measuring only 40 to 50 millimeters deep, the water table sits directly beneath the seed. The capillary pull keeps the lower third of the cell saturated, while the surface remains prone to rapid drying under germination heat lights.
Commercial bags rely heavily on un-sifted forest products, which are essentially hammer-milled pallet wood and softwood bark scraps. While these chips decompose slowly in large planters, inside a plug tray their jagged, flat surfaces settle into a dense, shingled alignment after only three or four bottom waterings. As fine silt particles wash down through the gaps, they fill the remaining capillary channels. This creates a dense layer at the base of the cell, effectively cutting off oxygen to the lower roots.
When root tips hit this saturated, compacted floor, their elongation ceases. Deprived of oxygen, the tissue softens, turns brown, and falls prey to opportunistic soil-borne pathogens like Pythium and Rhizoctonia. To keep roots white and active, we must design a mix that maintains open pore spaces even when completely wet, resisting the settling forces brought on by surface tension and daily misting.
Selecting Base Materials: Leaf Mold, Coir, and Perlite
The foundation of our nursery mix rests on three materials that serve distinct structural and biological purposes. We avoid standard garden loam and unrefined field soil at this stage, as both carry fine clay fractions that quickly pack down into concrete-like blocks inside restricted plug cells.
Leaf mold serves as our biological anchor. Gathered from deciduous piles of oak, beech, and birch that have decomposed for at least two autumns, it smells like the deep floor of a damp woods. Finished leaf mold is composed primarily of fungal hyphae and shredded lignin, offering a friable structure that does not turn to slush when wet. It supplies low, slow releases of humic acids and beneficial microbes that inoculate the seedling root zone against pathogenic molds.
Coconut coir provides water retention without the extreme hydrophobia associated with sphagnum moss. Coir pith consists of billions of micro-sponges that absorb roughly eight times their dry weight in water. When sourcing coir, we look for washed, low-electrical-conductivity blocks. Raw, unwashed coir can contain excessive sodium and potassium salts that disrupt osmotic pressure across young root membranes. We rehydrate the compressed bricks in fresh rainwater, allowing the tight fibers to swell into loose, golden-brown crumbles.
Perlite is our aeration engine. Formed by heating volcanic glass until it pops like popcorn, these porous white granules provide permanent physical structure. While organic components break down and soften under bacterial action, perlite stays rigid, carving out channels for gas exchange. We favor grade 2 horticultural perlite, which has particles between 2 and 4 millimeters wide, avoiding dust-grade fines that plug the very channels we are trying to clear.
| Material | Bulk Density (dry) | Primary Role | Preparation Required |
|---|---|---|---|
| Two-year Leaf Mold | 0.45 g/cm³ | Microbial life and crumb structure | Screening through 6 mm mesh, gentle drying |
| Washed Coconut Coir | 0.12 g/cm³ | Capillary moisture retention | Hydration in warm water, salt rinsing |
| Horticultural Perlite | 0.10 g/cm³ | Air pore space and drainage | Dampening to suppress respirable dust |
Sifting Mechanics for Fine Germination Media
Uniform particle size determines how evenly moisture travels through a flat of seedlings. When coarse bark flakes mingle with fine dust, the small particles settle into the spaces between the large ones, creating high bulk density and suffocating wet spots. Sifting is the manual filter that guarantees uniform hydraulic conductivity across every single cell in a 72-cell flat.
We build our sifting frames using clean, unfinished scrap pine and woven hardware cloth. Two screen gauges handle all our seed starting work. A 6-millimeter (one-quarter inch) screen processes the general bulking material, catching whole acorns, unrotted twigs, and matted root tangles. For fine seed varieties such as brassicas, snapdragons, or celery, we pass our finished mix through a secondary 3-millimeter (one-eighth inch) screen to ensure the emerging stem encounters zero overhead obstacles.
The stroke we use across the screen matters. We do not grind or press debris through the wire mesh with a trowel or flat board, as force shears soft organic matter into fine, muddy paste. Instead, we shake the frame gently from side to side across the edges of a broad wheelbarrow or wooden mixing tub. We let gravity draw the loose, angular grains through the wire, while rolling oversized material to the edge. The rough wood pieces and tough fibers that remain on the screen are emptied onto our perennial bed pathways or returned to the active compost pile as fungal inoculants.
Calculating the Moisture and Aeration Ratio
A balanced germination medium must balance two competing physical properties: water-holding capacity and air-filled porosity. Immediately following a thorough drenching, when all gravitational water has drained from the bottom holes of the flat, between 20 and 25 percent of the total volume within the cell should still consist of air spaces. If the air pore volume drops below 12 percent, the rate of oxygen diffusion to the roots slows drastically, stressing the plant.
Over years of observation, we have settled on a dependable volumetric ratio that strikes this balance cleanly:
- 4 parts screened leaf mold: This supplies structured organic matter, natural fungal life, and base trace minerals.
- 3 parts rehydrated coconut coir: This retains consistent moisture throughout the column without drying out too fast.
- 2 parts grade 2 perlite: This keeps pore channels open and prevents the coir from settling into a dense mat.
- 1 part vermiculite or screened castings: Fine vermiculite buffers moisture at the surface, while aged worm castings contribute early biological activity.
We measure these portions dry by volume, using an old metal two-gallon bucket as our scoop to maintain consistent batch records. Once blended together with a short-handled grain scoop, we verify the physical blend with a hand squeeze test. We take a fist-sized sample, close our fingers firmly, and release. The mix should hold its form cleanly, showing the imprint of our skin without weeping droplets of water between our knuckles. A light touch from an index finger should cause the ball to shatter back into loose crumbles.
Pre-Wetting the Medium to Prevent Dry Pockets
Pouring dry potting mix into flat cells and trying to hydrate it from above with a watering can is a common mistake. As dry medium encounters water, fine dust creates a hydrophobic surface tension barrier. The water rolls across the surface, channels down the inside smooth walls of the plastic cell, and pours out the drainage hole below, leaving the central core of the mix bone dry. A seed placed into that dry cavity will sit inert for days, or begin germination only to wither when its first root hits the hidden air pocket.
We always pre-wet our mix in a wide galvanized trough or deep mortar pan prior to packing flats. We spread the sifted mix in a wide layer roughly 150 millimeters thick. We pour warm water, roughly 38 to 40 degrees Celsius, over the blend. Warm water breaks surface tension much faster than cold well water, cutting hydration time in half. We calculate roughly 250 milliliters of water for every liter of dry mix, adjusting slightly based on the ambient humidity of our potting room.
We turn the mix thoroughly with a broad hand shovel, folding the dry outer edges into the wet center until the color changes to a deep, uniform peat-brown. After the water is worked through, we step back and let the entire mass rest undisturbed under a damp cotton cloth for 35 to 40 minutes. This rest period gives the coir pith time to pull water deep into its internal pores. When we fill our trays with this conditioned material, a light tap of the flat base against the potting bench settles the soil evenly without leaving any dry air pockets behind.
Potting Mix Storage in Breathable Bins
Because this mix relies on living biological components, principally the fungal and bacterial populations native to natural leaf mold, it must be stored as a living material. Sealing a moist, organic soil mix into airtight plastic bags creates anaerobic conditions. Deprived of oxygen, beneficial fungal hyphae die off, and anaerobic bacteria begin fermenting organic residues. This process creates low levels of alcohol and volatile organic acids that can stunt germination and burn root hairs.
We store our prepared bulk batches in slatted wooden crates or heavyweight canvas bins built on skids. The wood lets the mix breathe, venting heat while preventing water from gathering at the bottom. If you use plastic utility bins, drill two dozen 6-millimeter holes along the upper side walls, just beneath the rim, and cover the openings on the inside with a strip of fine window screen glued down with silicone. This layout keeps out fungus gnats while allowing steady oxygen exchange.
Check on stored mix every two weeks. We plunge our hand deep into the center of the bin; it should feel cool to the touch and smell like a fresh damp forest floor. If the mix dries out along the edges, mist it lightly with rainwater to keep the biological communities alive. If you detect a sour, vinegar-like smell, turn the material onto a clean canvas tarp in an airy room, letting it breathe for a day or two so aerobic organisms can re-establish their balance.
Common Mistakes in Seedling Mix Formulation
Even seasoned gardeners sometimes stumble over small preparation oversights that reduce mix quality. The following adjustments keep your mix light and safe for new roots:
- Adding uncomposted animal manures: Even aged manure carries soluble salts that burn the roots of tender seedlings. Reserve manures for the outdoor garden beds, keeping germination mixes light and clean.
- Using unwashed play sand: Builders sand and fine play sand feature rounded, uniform particles that fill in air gaps like mortar. If you want mineral grit, select sharp, coarse builder granite or crushed quartz, always washing out the fine dust first.
- Compressing the mix into cells: Packing seedling mix down with your thumbs drives out necessary air pores. Fill the cells loosely to overflowing, tap the flat down once firmly onto the bench, and scrape the excess away with a straight wooden edge.
- Substituting fresh wood shavings for leaf mold: Wood shavings draw nitrogen out of the surrounding mix as they break down, starving seedlings before their root systems can fully take hold.
Next Steps on the Potting Bench
Start by gathering your raw components into separate, dry bins so you can monitor their condition. Track down an authentic source of deciduous leaf mold from an untamed corner of your property or a clean local collection site. If you must use bagged compost instead, check that it is fully matured, smells sweet and earthy, and has zero heat left in the pile.
Build a simple sifting box using standard 25-by-50-millimeter batten lumber and a small section of 6-millimeter hardware cloth, sized to sit steadily across your mixing tub. Screen a single test batch of ten gallons, wet it down according to the squeeze test guidelines, and pack a single 72-cell flat with your blend. Sow a reliable, quick-germinating test seed, like radish or common market lettuce, to observe how the surface takes water and how the roots fill out the cell. Watching water soak evenly through your own hand-sifted blend brings a renewed, quiet confidence to the work of the coming growing season.
Our field notes serve general horticultural education; consult your local agricultural extension service for regional biosecurity rules and persistent plant pathology. Disclaimer

Complementary Reading
-
 Soil & Living Compost 9 min read
Building a Simple French Trench for Kitchen Composting
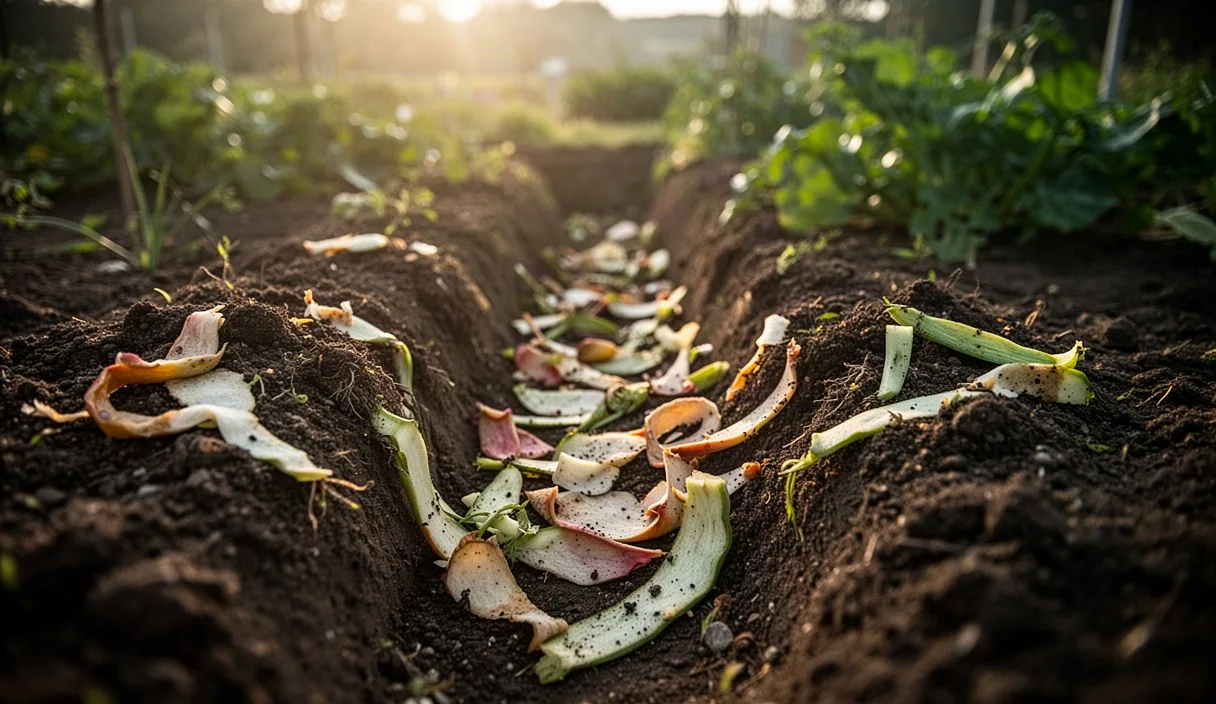
You will learn how to dig narrow trenches directly through vegetable beds to bury raw vegetable trimmings. This method feeds subterranean earthworms without requiring bulky compost bins or attracting rodents.